Do-It-Yourself Brake Repair: Because a car is an invaluable asset, no owner ever hopes for its eventual breakdown or damage, but these things happen. The brakes are one component that might be damaged. There is an urgent need to fix these brakes when they are broken since they play a crucial role in keeping everyone safe while driving.”

Many parts make up these breakdowns, and they can all affect how the system works. All of these parts work together to protect us from having to use our vehicles and trucks in an emergency, but the failure of even a single one can cause serious problems or even death.
Even while professional help is always accessible, there are instances when we still need to fix these cracks immediately. To ensure you can handle the brakes on your own in a moment of need, we will look at do-it-yourself brake repair services on our blog site today. Having this information at your disposal will be helpful with the step-by-step discussion.
Gathering all of the required tools and components: Do-It-Yourself Brake Repair
As with any repair job, gathering the necessary equipment and materials is the first step. Before changing a flat tire, ensure you have an inflated tire. Similarly, before fixing the braking system, ensure you have all the necessary equipment and the parts you intend to replace.
You should know whether the affected component is unpredictable without expert participation, even though it is sufficient to ensure you have the proper tools and supplies. Listed below is a comprehensive inventory of all the necessary tools.
John and Jack both stand

A toolset that includes a ratchet and an outlet wrench
C-clamp
Fluid for braking
Brand new brake pads and, if necessary, rotors.
Calliper tool for braking systems (used to retract pistons).
Torque wrench,.
Cleaner for brakes.
Safety gear (gloves, eye protection).
I am raising the vehicle.
Crucial to the break repair job is raising the vehicle and providing it with a jack. While you’re working on this, be very careful. Before proceeding forward, make sure the car is steady. Tragedies can occur when a vehicle is not balanced.
Get rid of the worn-out brake pads: Presented methodically: Do-It-Yourself Brake Repair
In order to remove the brake pads, follow this brief but comprehensive guide:. Loosen the lug nuts, lift the vehicle, and secure it using jack stands.
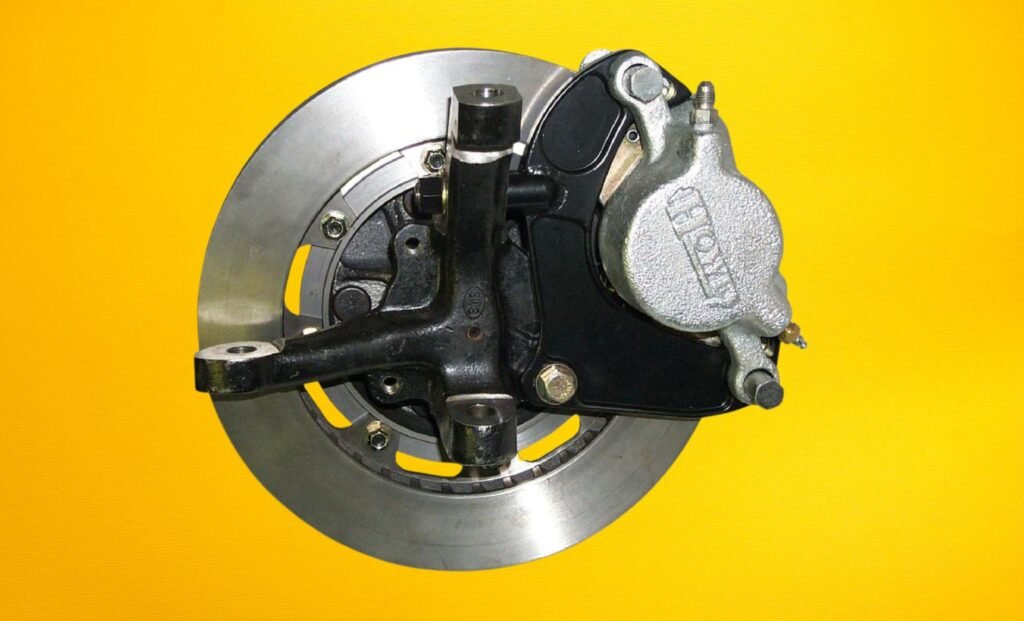
Just behind the wheel is where you’ll find the brake caliper. Remove any pins or clips that may be holding anything in place.
Carefully remove the caliper from the blades once you see the brake pads.
Remove the worn brake pads from the calliper brace holes with extreme caution.
Keeping track of where the old pads were installed might be helpful when putting in new ones.
To prevent Securer with bungee cords or wire.
How does one prevent strain on the brake line when changing the brake pads?
After removing the old brake pads, it is necessary to change them.
When replacing brake pads, placing them in the same slots as the previous ones is important. This is achieved by inserting the new pads directly into the caliper brace.
After you’ve ensured the fresh pads and blades are firmly in place, place the caliper carefully.
Returning the Calliper to Its Bracket: Reattach the caliper to its bracket using the original rivets or screws.
Tightening: Using the right tools, tighten the caliper bolts or pins according to the manufacturer’s specifications.
Putting the wheel back on: After making sure the caliper is securely fastened, the user needs to swap out the wheel, tighten the lug nuts by hand, and then lower the car.(If you want to develop this kind of website by professional web developers you can contact with them).
Finally, assessments: First, the driver should check the brakes, and then, using a torque wrench in a crosswise pattern, tighten the lug nuts.